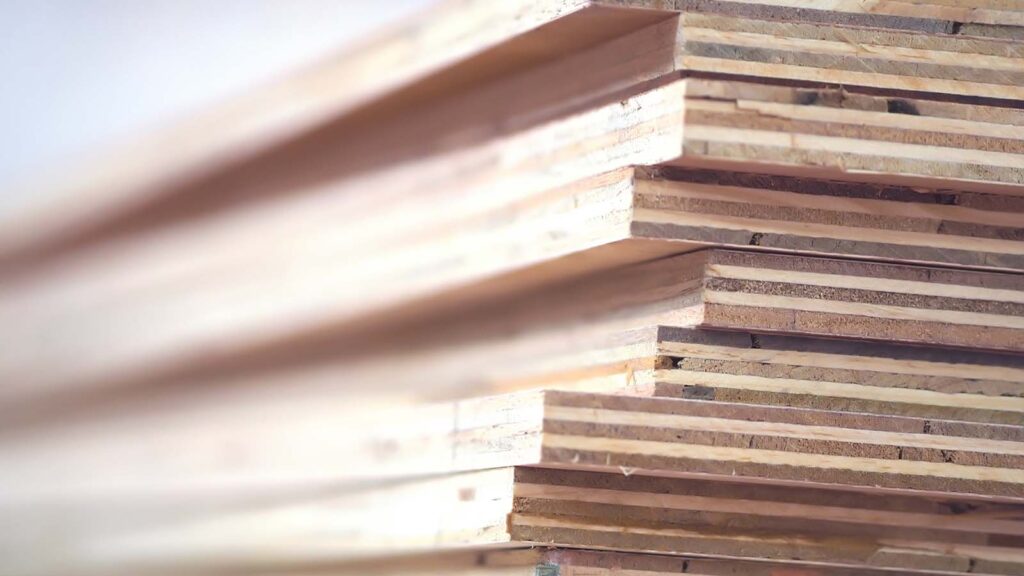
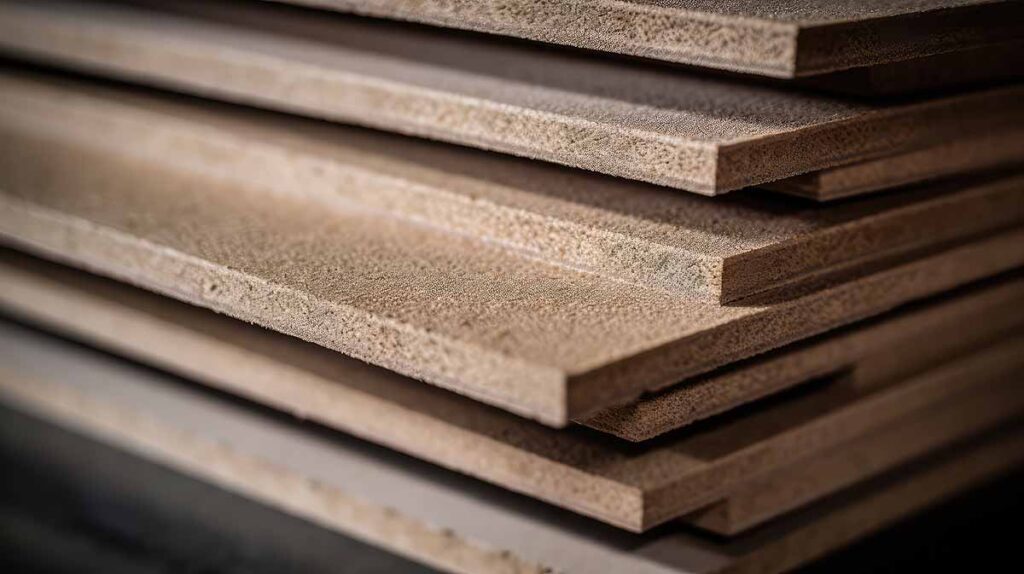
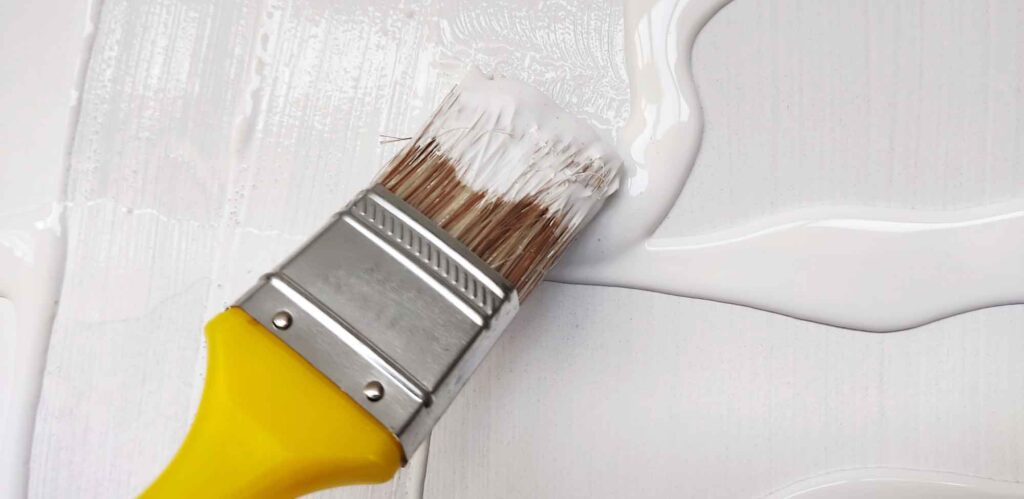
Artists and conservators have long explored painting on wood panels using plywood and other laminated supports for oil, acrylic, and tempera. These engineered wood products—including standard plywood and resin-coated boards such as MDO and HDO panels—provide a smooth, rigid alternative to traditional solid wood panels or stretched canvas. Plywood is composed of thin veneers glued in cross-laminated layers, a structure that imparts strength and dimensional stability (Muller 1992). Contemporary versions such as medium density overlay (MDO) and high density overlay (HDO) incorporate resin-saturated fiber faces that improve surface smoothness and durability, making them especially well-suited for artists seeking stable, long-lasting supports.
This article examines the historical evolution of plywood as a painting support, its mechanical and chemical behavior over time, and the advantages and drawbacks of its use in contemporary art. Key issues such as warping, surface checking, discoloration from wood acids, fiber raising, and the material’s considerable weight are addressed, along with strategies to mitigate them.
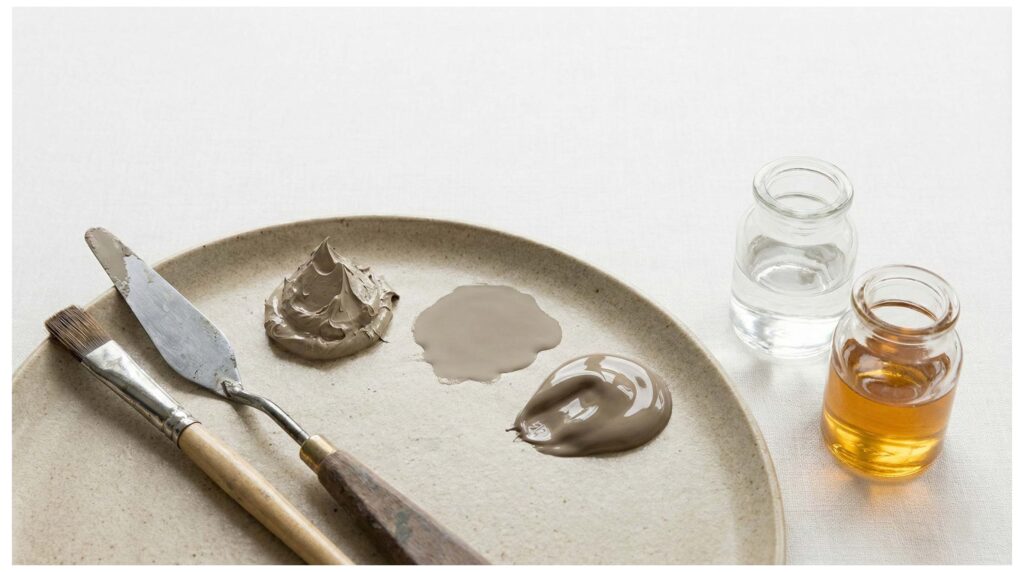
Finally, methods of sealing and priming plywood (with materials such as gesso, shellac, polyvinyl acetate, etc.) are analyzed for their effectiveness in extending the longevity of paintings on plywood. Throughout, findings from scholarly conservation research and the technical literature are cited to provide an informed, critical perspective on the use of plywood and laminated wood panels as fine art supports.
Historical Development of Plywood Supports
Early Use in the 19th Century: Although wood panels have been used for painting since antiquity, plywood — in the sense of a manufactured, cross-laminated wood board — only became feasible in the mid-19th century with the advent of industrial veneer cutting. The first patents for “veneered wood” date to the 1860s in the United States, and by 1880, plywood panels were commercially produced (Muller 1992).
An early documented example of an artist using plywood is a landscape by George Inness painted on a three-ply panel made by E. F. French of New York around 1880 (Muller 1992). French’s product, marketed as “French’s Patent Artist Board,” was praised for its supposed immunity to splitting or warping and its canvas-like cost and weight. Indeed, Inness’s painting on this panel survived with minimal deformation — only a slight warp across the grain — even after a century, suggesting that the plywood was a “sensible alternative” to heavier solid wood boards (Muller 1992). Nonetheless, 19th-century use of plywood for painting appears to have been rare and experimental. Inness’s example and a few European instances (e.g., a Durand-Ruel-supplied plywood panel used by Eugène Isabey in the 1850s) are outliers; most artists of that era stuck to canvas or traditional wood panels (Muller 1992). Plywood did not enter the mainstream of artist materials in the 1800s, even as its industrial production increased.
20th Century Adoption and Manufacturing Advances: In the 20th century, plywood became far more common as an artist’s support, especially as the material improved in quality and became more widely available. By the early to mid-20th century, many artists — including academically trained painters and later modernists — experimented with plywood panels. A recent conservation survey in Poland found that paintings on plywood (mainly from the first half of the 20th century) form “a significant part” of museum collections, indicating how widespread the material’s use had become among artists of that period (Jeżewska 2019).

I bought a full sheet of MDO G2S, which is now cut into pieces no larger than 24×24″, but I’m at a loss how to proceed. What do I need to do to use these panels (a) for oil painting directly on the board, or (b) adhering clean canvas/linen, or (c) marouflaging an already-painted canvas (for mounting). My questions, for each of these 3 uses, are:
1. Edges of the board: do I need to fill in the chinks? and if so, what material should I use? Once the chinks are filled in, what is the best way to seal the edges? I have both unwaxed shellac flakes and BIN primer
2. Surfaces: both surfaces of my boards are covered with the resin-infused papers. Should these surfaces be sanded, ever? Do these surfaces require any additional sealing? Is different prep required for painting vs. marouflage? Should the back surface be prepped differently from the front surface?
3. Adhesive: to mount fabric on the resin-infused surfaces, what adhesive should be used?
I’m really looking forward to using the MDO generally; my most immediate need is to mount the already-painted canvas on one of the boards. Thanks in advance for your guidance!
For context, MDO (Medium Density Overlay) is exterior-grade plywood with a resin-impregnated fiber overlay, designed for signage and concrete formwork. That overlay is stable and moisture-resistant, but it is not a traditional painting ground. Preparation depends entirely on how you intend to use it.
A. Painting Directly on the MDO
1. Edges
The exposed plywood edges are the most vulnerable area. They are hygroscopic and will exchange moisture rapidly if left unsealed.
• Yes, fill voids or “chinks” in the plies.
Use a high-quality epoxy wood filler or exterior-grade wood filler. Avoid soft spackling compounds; they are not dimensionally stable.
• After filling and sanding flush, seal the edges thoroughly.
Dewaxed shellac (multiple coats) is appropriate. BIN primer is shellac-based and also acceptable. Apply enough coats to create a continuous, non-porous barrier. Lightly sand between coats if needed.
2. Surfaces
The resin-infused overlay is already sealed and relatively non-absorbent.
• Light sanding (220–320 grit) is advisable to create tooth. Do not sand aggressively; you are not trying to remove the overlay.
• After sanding, apply a proper ground. For oil painting, that means either:
A traditional oil ground over a suitable oil-alkyd primer layer.
Even though the overlay is sealed, I recommend priming both front and back to balance moisture movement and reduce panel warp risk. The back does not require a full painting ground, but it should be sealed.
B. Adhering Clean Canvas or Linen
Preparation is similar, but adhesion becomes the primary concern.
• Lightly sand the overlay to improve mechanical bonding.
• Remove dust thoroughly.
• The back should still be sealed to maintain balance.
Adhesive Options
For adhering clean fabric to MDO:
PVA or VAE (conservation grade)
BEVA 371 film or gel
Avoid using hide glue or rabbit skin glue directly onto MDO; the overlay is non-absorbent, and those adhesives rely on penetration and mechanical key.
Apply adhesive evenly, avoid excess moisture, and use uniform pressure while curing to prevent bubbles.
C. Marouflaging an Already-Painted Canvas
This is structurally more sensitive.
If the painting is already cured:
• Avoid PVA /VAE if the paint is sensitive to moisture.
• BEVA 371 (film or gel) is often preferred in conservation because it introduces less moisture and offers controlled activation.
The MDO surface should be lightly abraded but not deeply sanded. You want a keyed surface without compromising the overlay integrity.
Ensure the painting is fully cured and structurally sound before marouflage. Any existing tension distortions will be locked into the rigid support.
Surface Sealing: Front vs. Back
The goal is dimensional balance.
Front: proper ground appropriate to your paint system
Back: sealed to reduce moisture exchange
Edges: heavily sealed
Uniform sealing reduces cupping and long-term panel stress.